

In this article - we will see
1) How to run queries in Big Query Console ?
2) How to export the output of Big Query in a .csv file ?
3) How to Store those exported/downloaded .csv into Storage Bucket ?
4) How to create Database and Tables in Cloud SQL ?
5) How to Load Data in Tables created in Cloud SQL from .csv files which are stored at Storage Bucket?
6) How to run SQL queries on those Tables to view Loaded Data.
SQL (Structured Query Language) is a standard language for data operations from structured datasets.
I am assuming, we all know the basics of SQL (just basic very basic) like :-
In SQL - Data stored in forms of Rows and Columns.
SELECT command i.e. SELECT * FROM TABLE_NAME;
COUNT command i.e. SELECT COUNT(*) FROM TABLE_NAME;
Just the above basic, I am assuming, we all know. So that we can directly jump into Big Query.
What is BIG QUERY ?
Let's suppose we have very small data just 100 to 1000 rows ; Then we can use 'google sheets' or 'ms excel' to store/save our data ; and we will put some filter, formulas in google sheets to view the data easily.
if data is a little bit huge ; let's suppose 50000 records ; Still we can use 'google sheets'. But Now to filter the required data, applying some formulas will take some time as compare to above situation.
Now let's suppose, data grows a little bit more example 10M to 100M records - Then we can't use google sheets, we have to store our data in some database like SQL. Storage issue gets sorted with SQL , but performance issue still as is. If we run query on 100M records, It take a huge time to return the output and because of this sometimes our transactions get timeout.
To Sort the above issue, we have concept of Big Query. It's just a Data Warehouse, which stores petabytes of data and running query in Big Data will return output in very few seconds. Big Query is a PAAS (Platform as a Service) and we can simply run normal SQL queries to view/analyse the data. Data analysts and data scientists can quickly query and filter large datasets, aggregate results, and perform complex operations without having to worry about setting up and managing servers.
How to access Big Query in GCP and How it Looks like ?
Open https://cloud.google.com and create a free account (if you don't have)
In the Google Cloud Console, select Navigation menu > BigQuery
BigQuery comes under Big Data Tab as shown in below image.
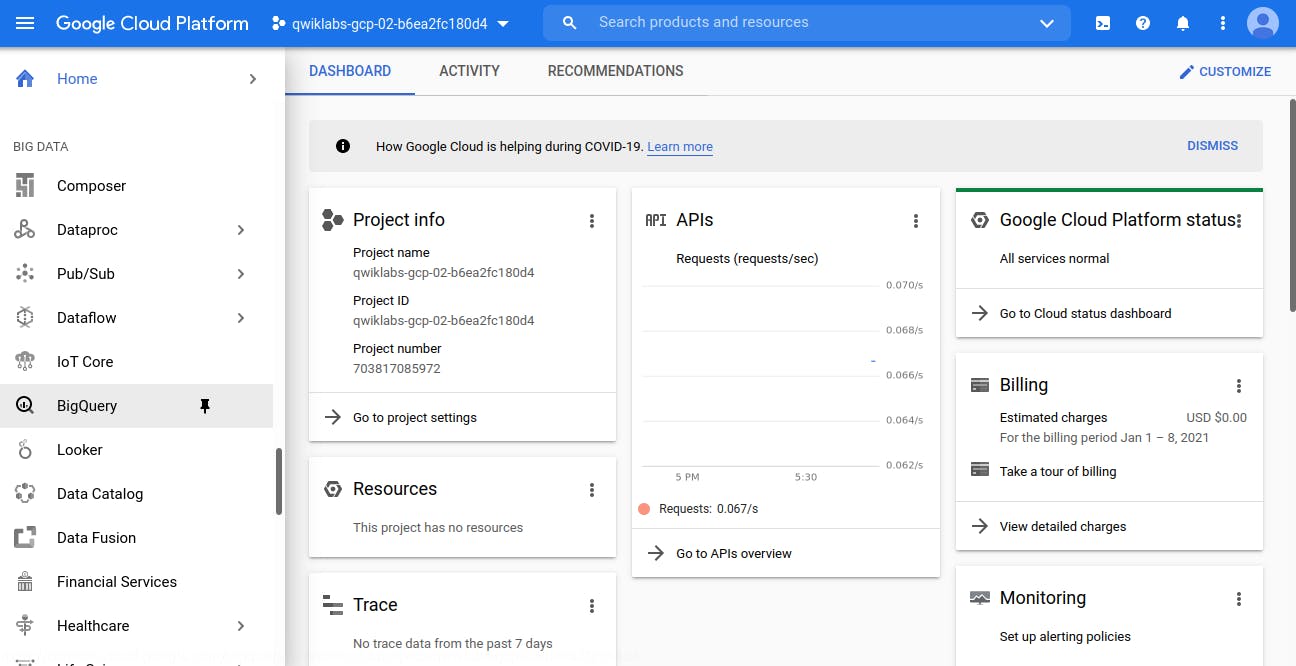
Click on it to Open Big Query window. You will see below window.
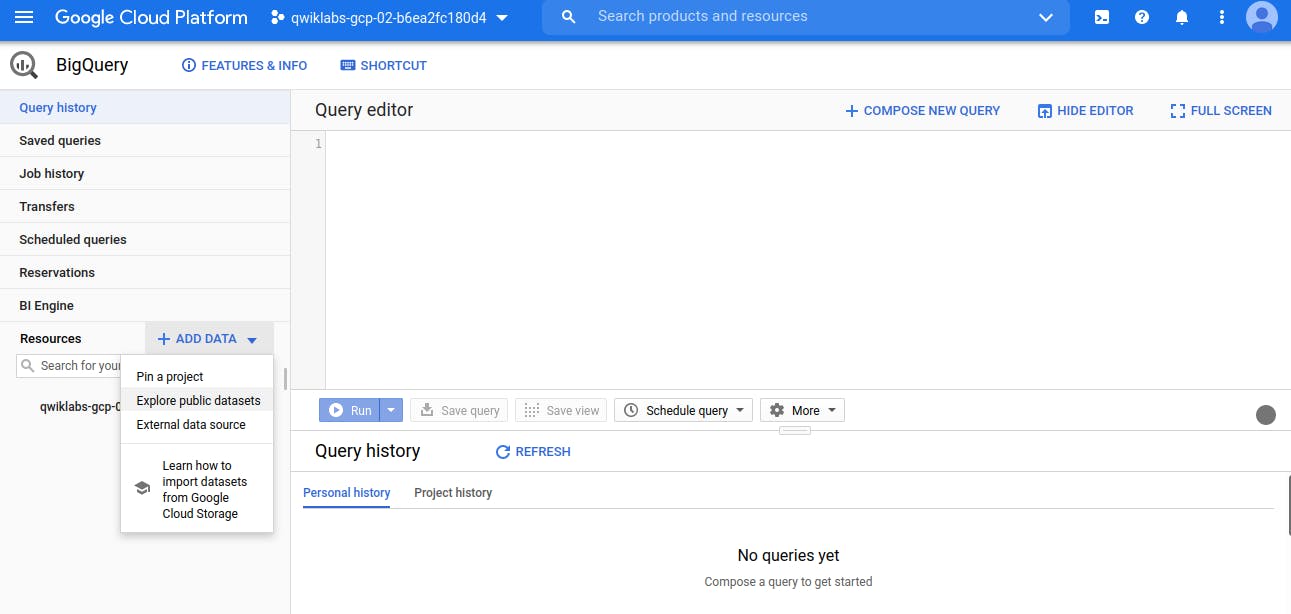
Take a moment to note some important features of the UI.
The right-hand side of the console houses the "Query editor". This is where you write and run SQL commands.
Below that is "Query history", which is a list of queries you ran previously.
The left pane of the console is the "Navigation panel".
There is the Resources tab.The highest level of resources contain Google Cloud projects. (By Default, under Resources Tab - my current Project visible) which is empty and nothing in it.
Note that in BigQuery, projects contain datasets, and datasets contain tables.
Projects ==> Datasets ==> Tables
As of now, we only have Projects (No Datasets and Thus No Tables).
Now we have two option -
1) Either we use some public available datasets to run and test some query. 2) The 2nd option is create a dataset, table and load data.
In this article, our aim is How to run query, so let's go with option 1 i.e. use public available datasets.
Click on +ADD DATA icon (which is just beside the Resources Tab) and choose option 'Export Public Datasets'

A New window will open. In the search bar, enter "london", then select the London Bicycle Hires tile, then View Dataset.
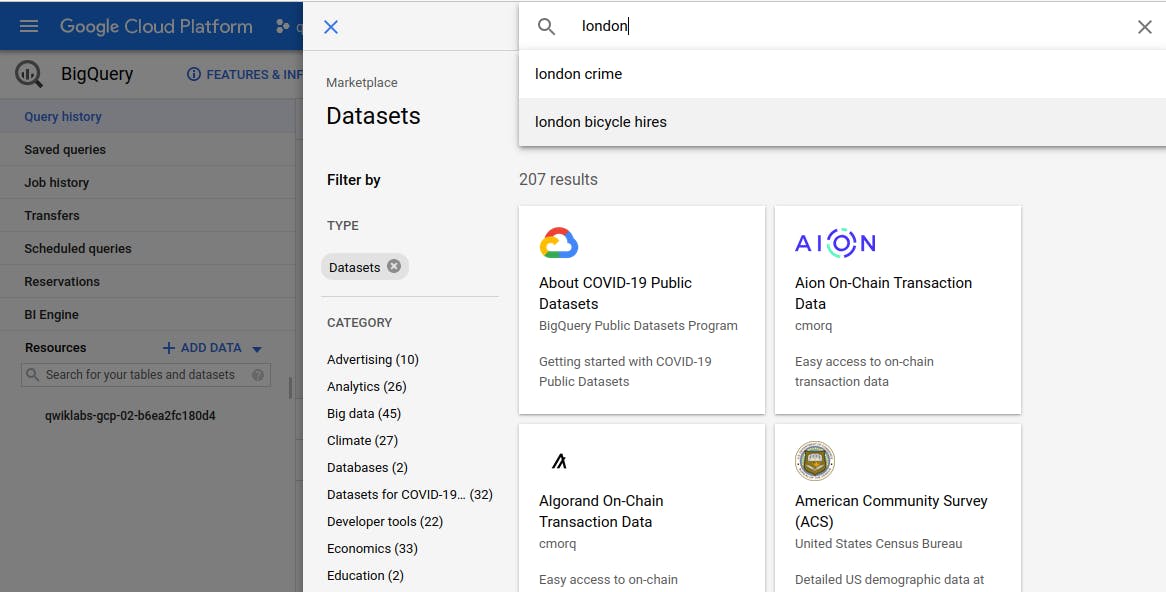
A new tab will open, and you will now have a new project called bigquery-public-data added to the Resources panel.
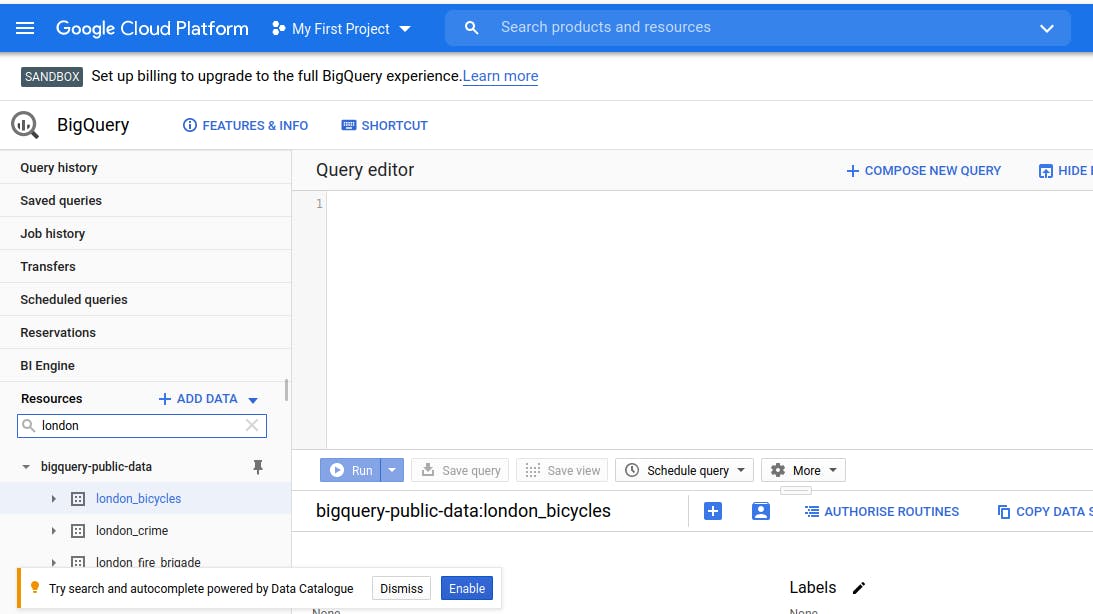
Click on bigquery-public-data > london_bicycles > cycle_hire. You now have data that follows the BigQuery paradigm:
Google Cloud Project → bigquery-public-data
Dataset → london_bicycles
Table → cycle_hire
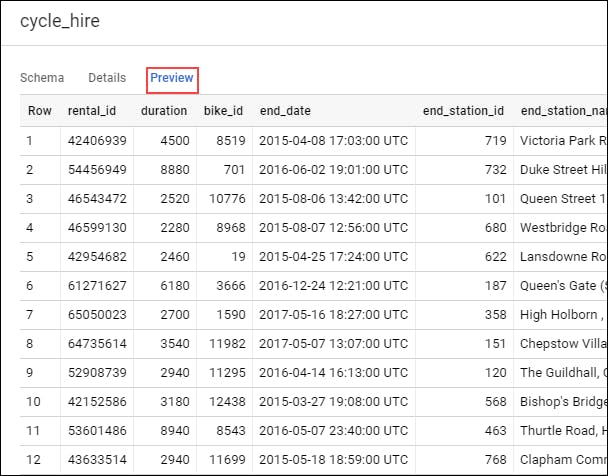
We can Preview the Data.
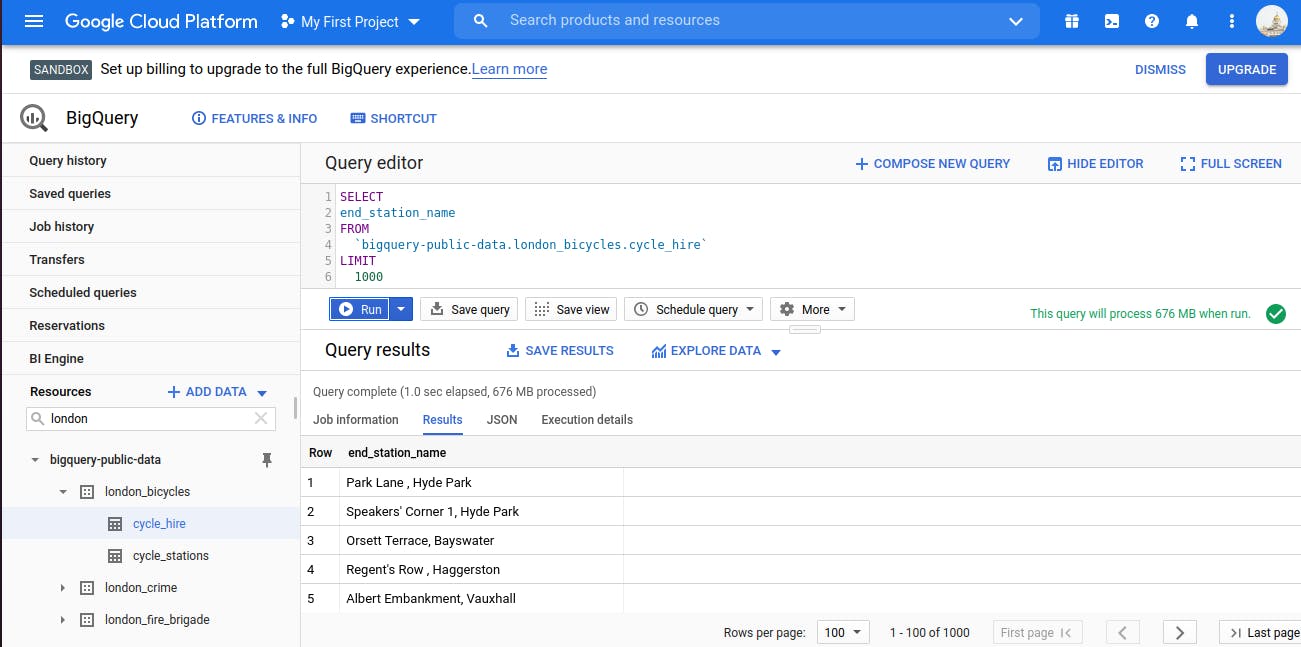
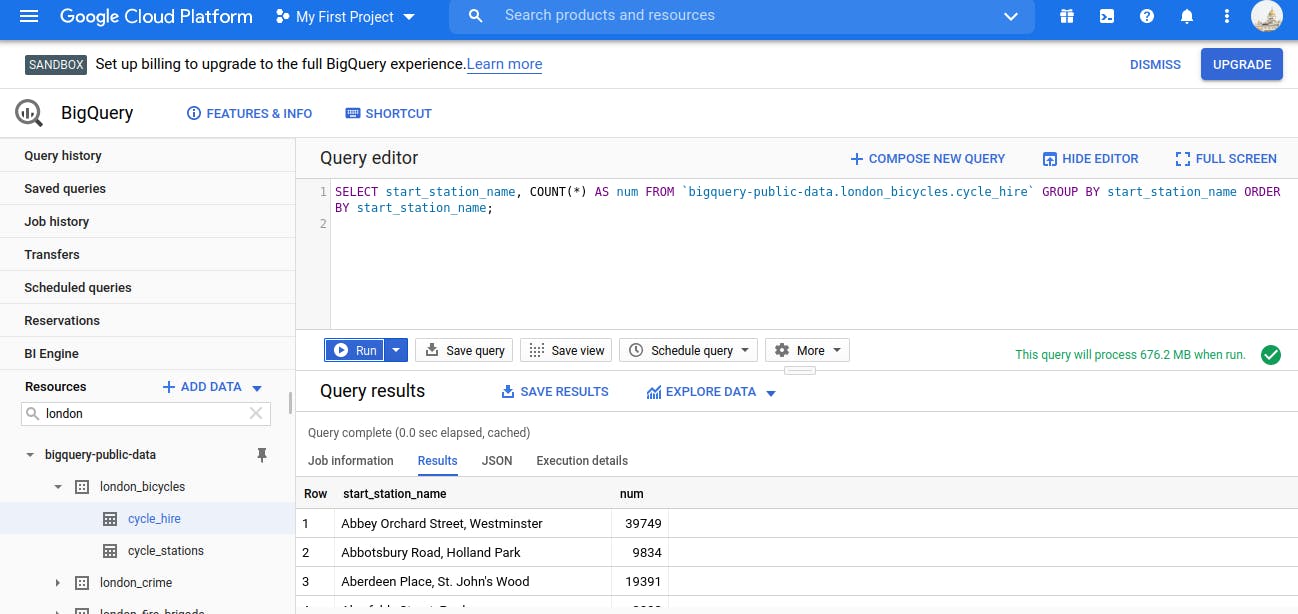
Now We will run Some Basic Queries by writing the query in Query-Editor and click on Run
SELECT Query
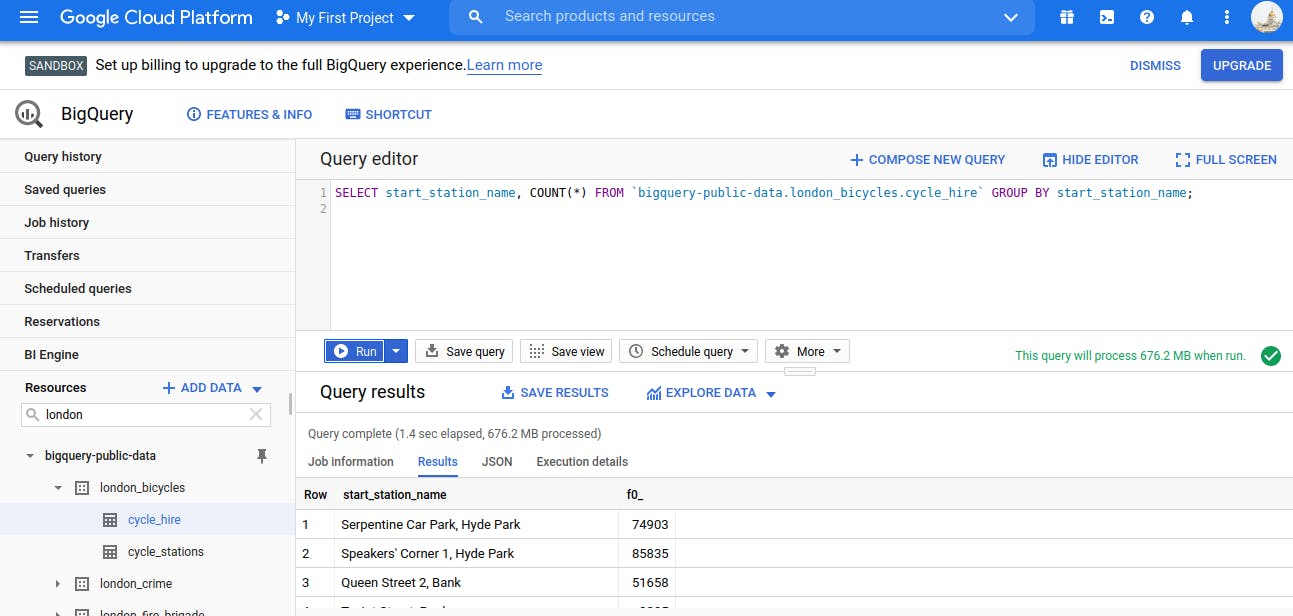
COUNT and GROUP BY Query
The GROUP BY keyword will aggregate result-set rows that share common criteria (e.g. a column value) and will return all of the unique entries found for such criteria.
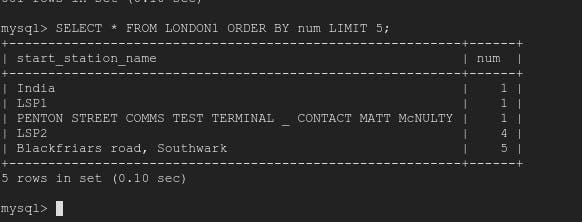
ORDER BY
The ORDER BY keyword sorts the returned data from a query in ascending or descending order based on a specified criteria or column value.
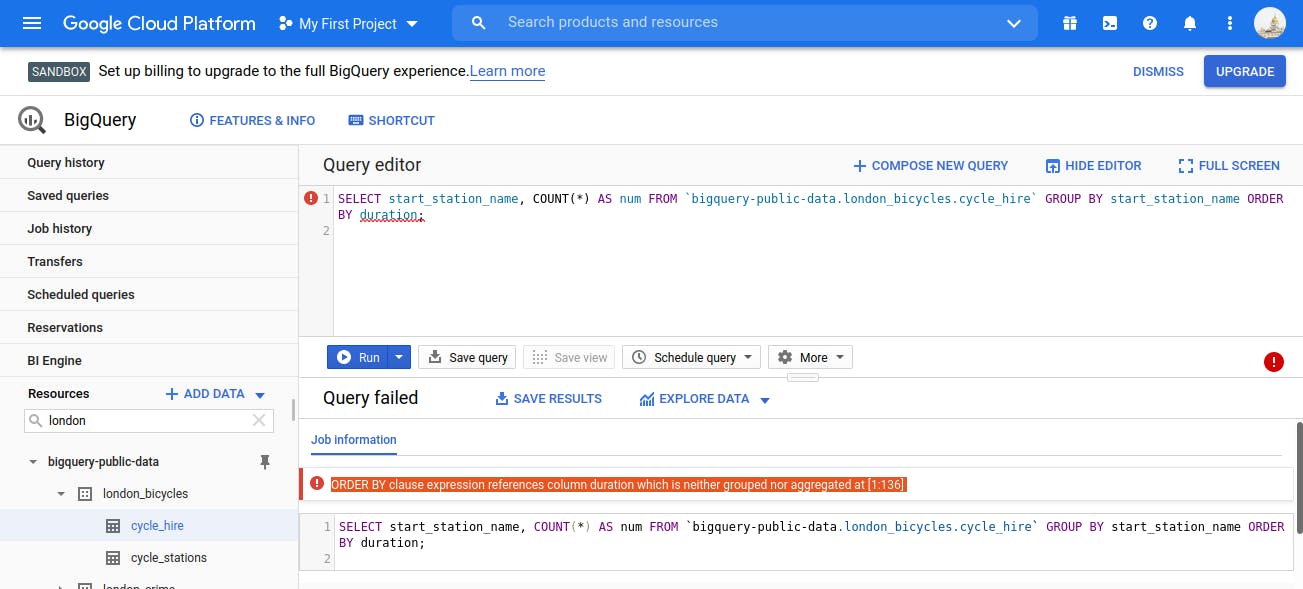
One Good feature is - if we type wrong query, it will show 'RED Colour Exclamation mark' symbol which represents - query is wrong.
Now Time to SAVE RESULTS of these Queries in CSV file.
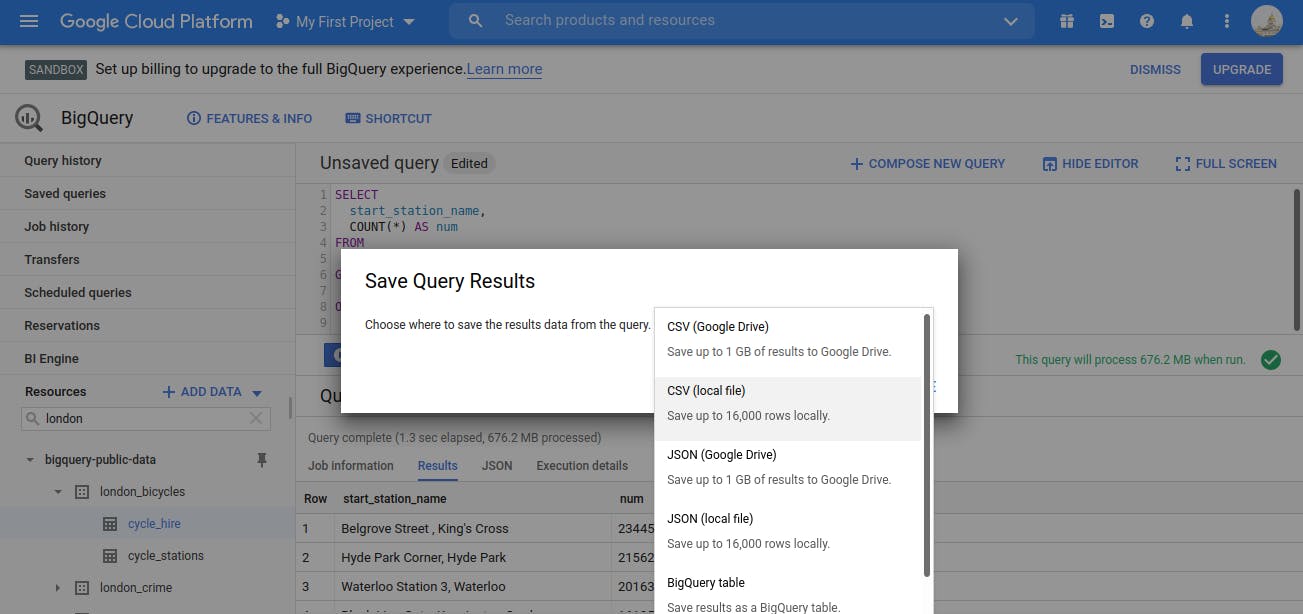
Click on the 'SAVE RESULT' option.
In the Query Results section click SAVE RESULTS > CSV(local file) > SAVE. This initiates a download, which saves this query as a CSV file. Note the location and the name of this downloaded file—you will need it soon.

So till now - we have seen How to run the SQL in Big Query and How to export the result of Big Query in csv.
Now, we will see, How to Store these downloaded csv into Storage Bucket
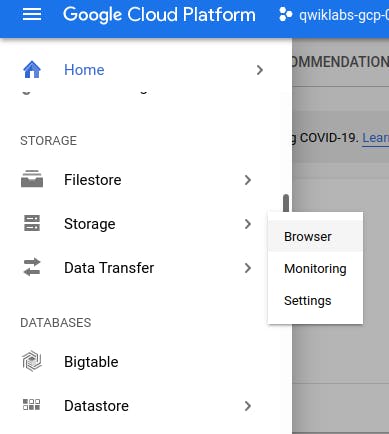
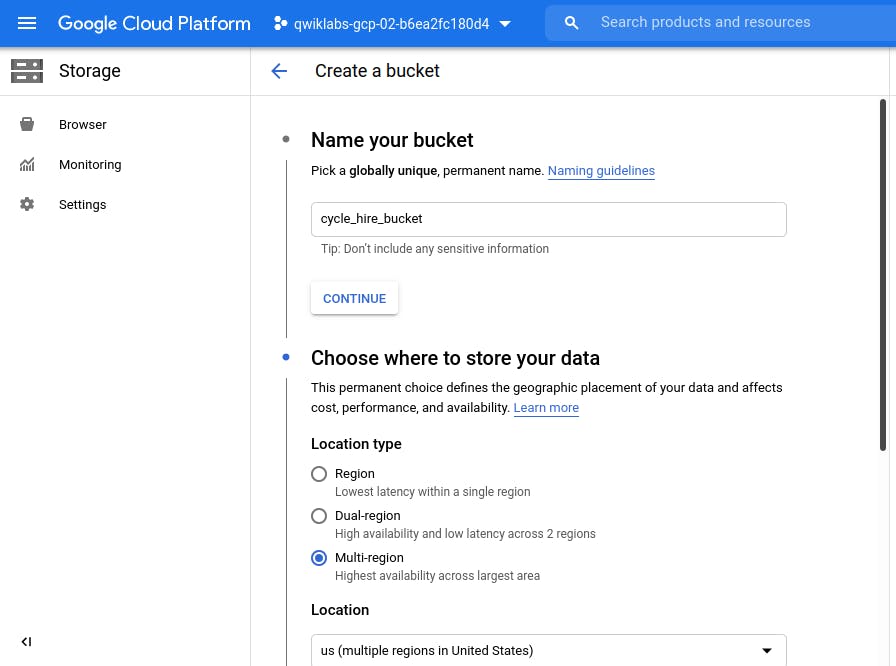
For this, first we need to create a Storage Bucket. Let's see How to create and from which option we need to select in GCP.
Navigation ==> Storage ==> Browser
Create Bucket - Give any unique name.
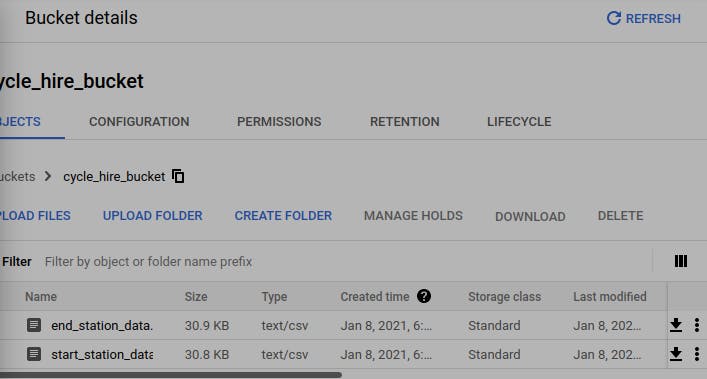
Once the Bucket get created, using Upload File option, Upload both the .csv files which we downloaded from Big Query.
(Apologise for blurred image and also not cropped properly)
So till now we have also seen how to store files (example .csv in this case) in Storage Bucket in GCP.
Now time to create Database and Table in Cloud SQL - But which option we need to choose in GCP. See Below...
Create a Cloud SQL instance
Navigation ==> SQL
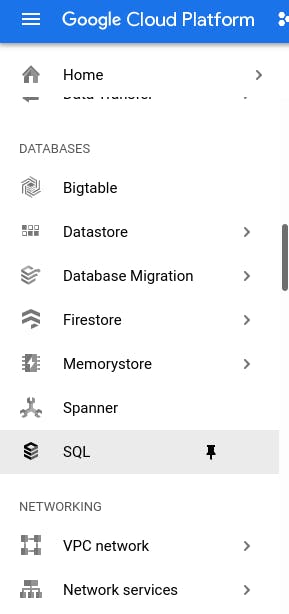
Click on it the Click Create Instance.
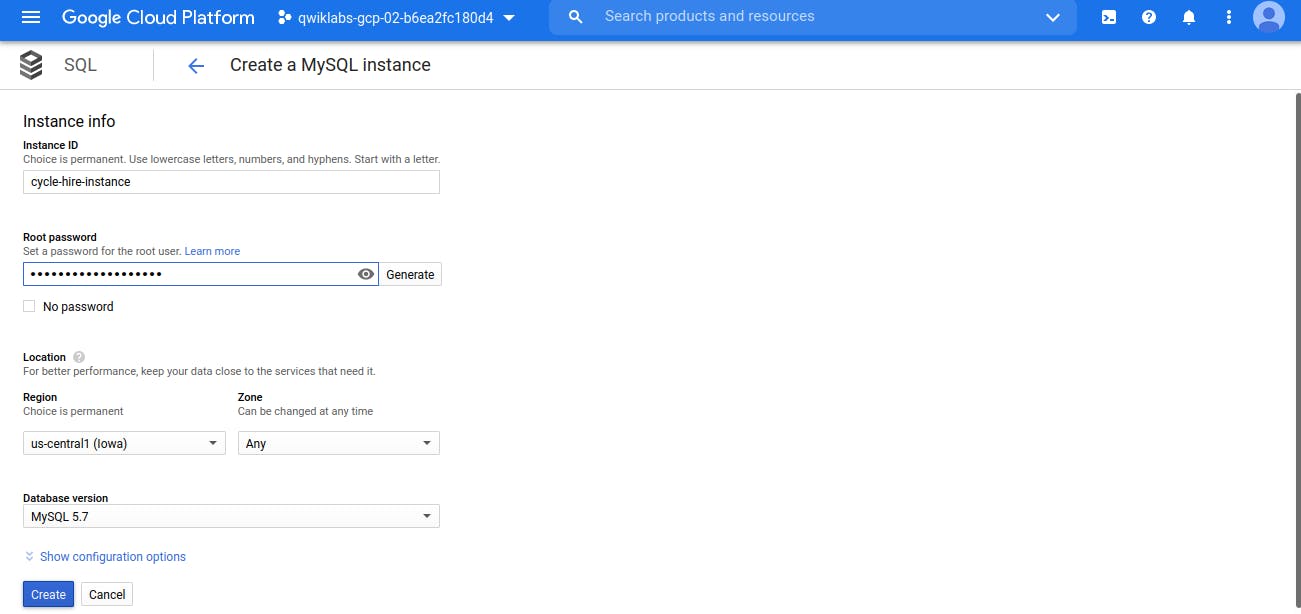
From here, you will be prompted to choose a database engine. Select MySQL.

On Next Screen, Enter SQL Instance name and Create it
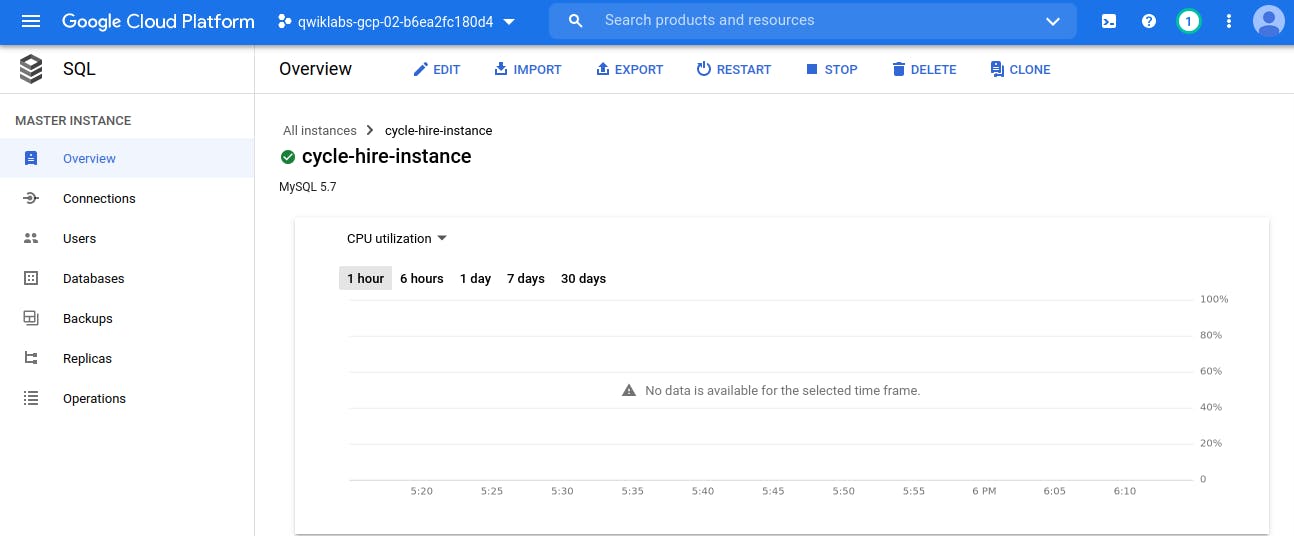
Now our SQL Instance get created. Now time to connect with this SQL Instance and Create Database, Tables.
We will use Terminal (Activate the Terminal) - By clicking on the Icon which is on Top Right Corner in Menu Bar.
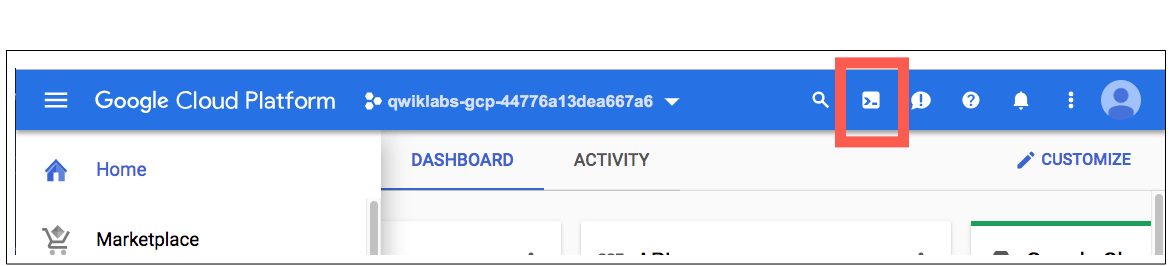
A Terminal will open and we will run all commands in that terminal.
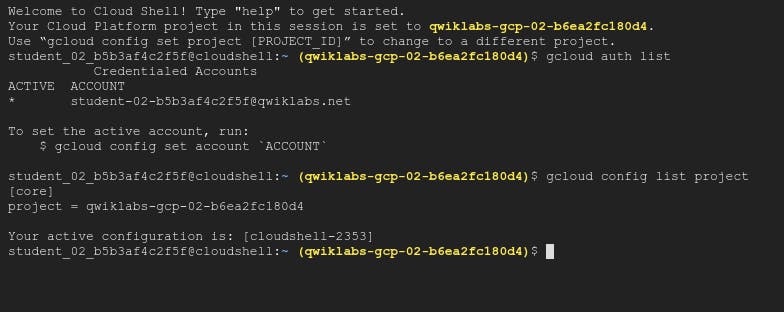
You can list the active account name with this command: gcloud auth list this command will show the username (which is active)
You can list the project ID with this command: gcloud config list project This command will show the Project in which currently we are working.
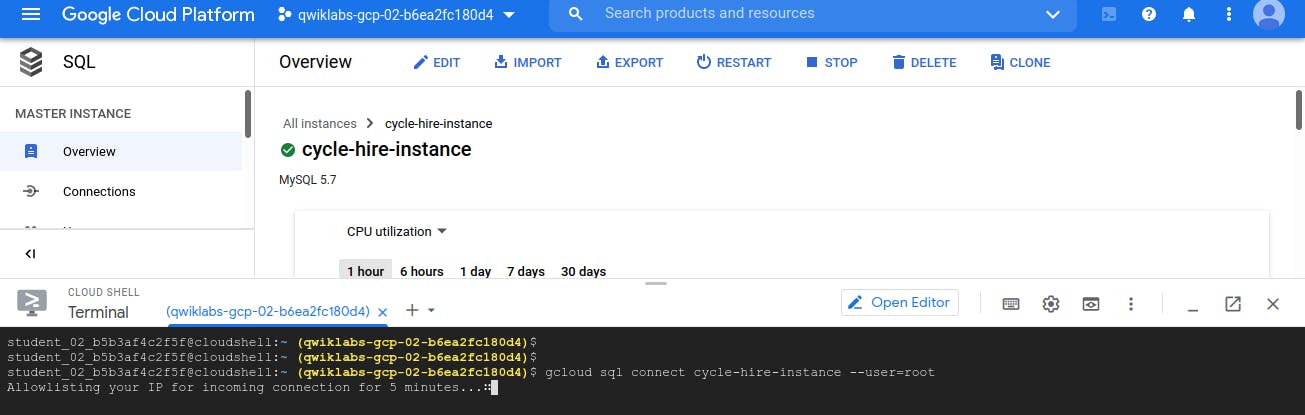
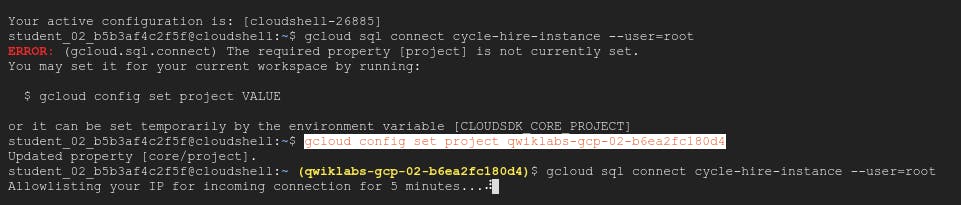
Now to connect with SQL Instance which we have created above, run below command. gcloud sql connect --user=root
There could be chances that while issuing above command we may get error as shown in below image i.e. required Property of project is not set
to sort that, we need to first issue the command -
gcloud config set property
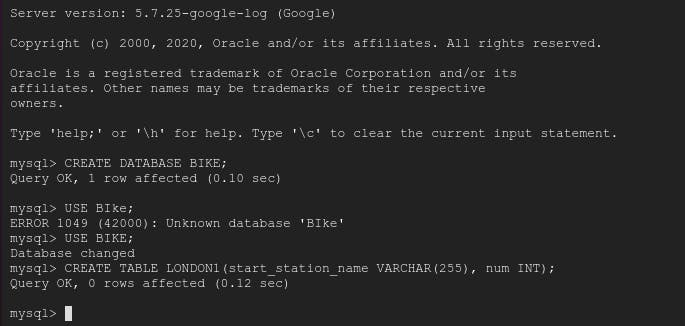
Now create Database and Table.
we have created database as BIKE and two tables - London1 and London2
NOTE: - Database and Table Names are case sensitive
Create London2 table
USE bike; CREATE TABLE london2 (end_station_name VARCHAR(255), num INT);
So we have created the table and both tables are Empty.
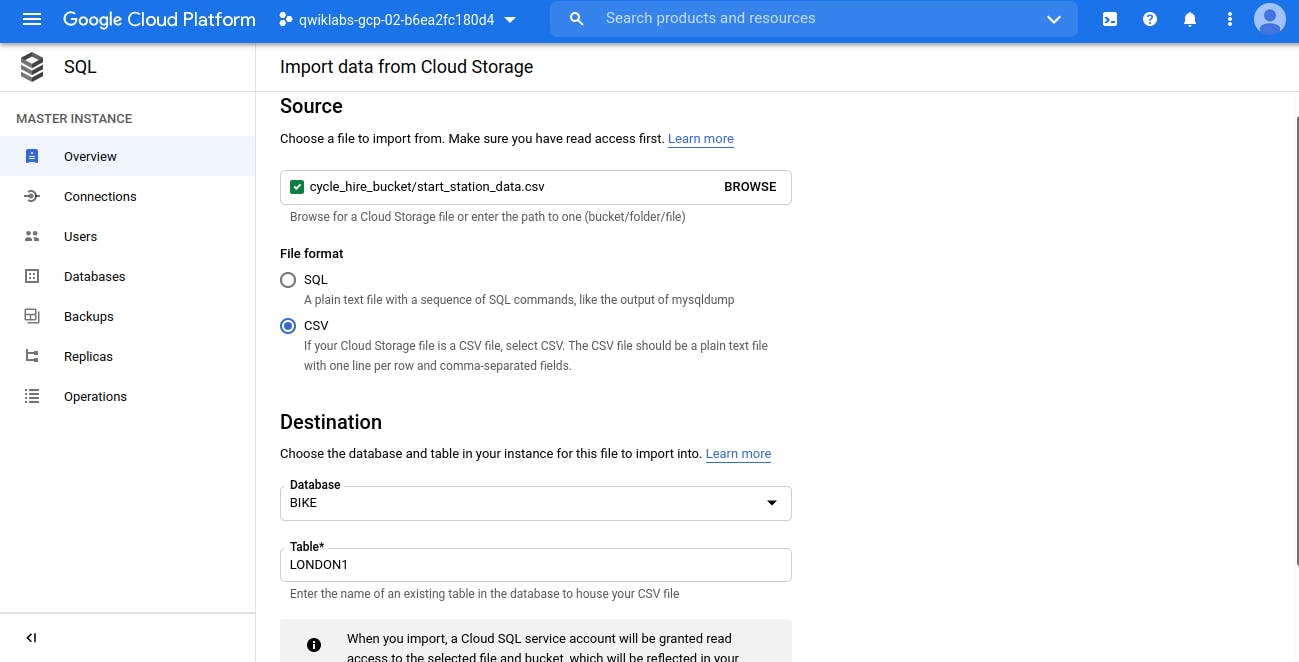
Now time to load the data into both table. Remember, we have save 2 csv file into Storage Bucket, So we will load the data from those csv which are in Storage bucket into these newly created tables (London1 and London2)
Just click on IMPORT Button
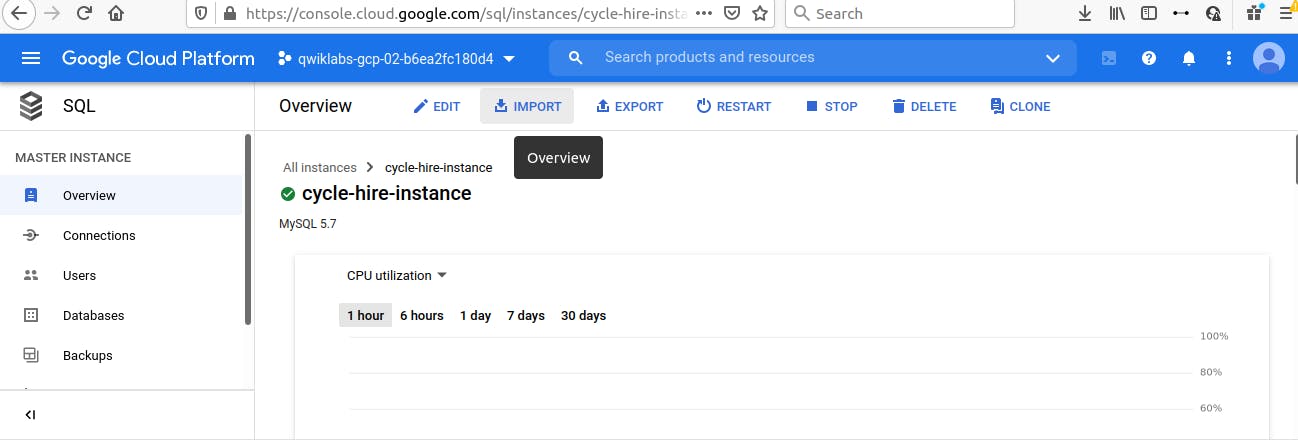
and Import both the save in separate tables.
Now run SELECT command on TERMINAL. We will see records now in both tables.
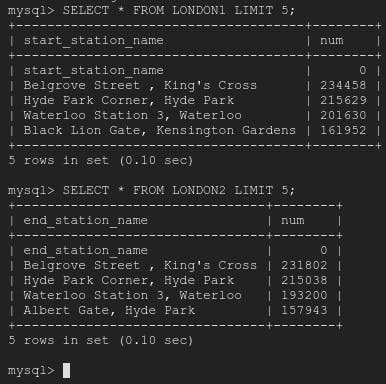
But, Here we have to notice one thing, Look at first record which is CSV Column Name and it treated as a RECORD.
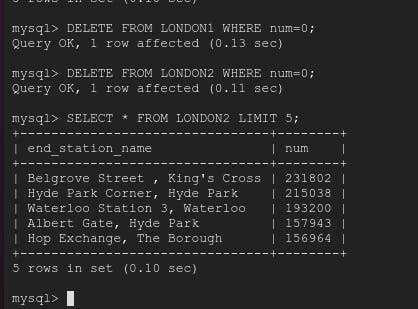
So let's delete that using DELETE COMMAND and WHERE CLAUSE
Lets INSERT 1 DUMMY RECORD using INSERT COMMAND
INSERT INTO LONDON1 (start_station_name, num) VALUES ("India", 1);
Let's try one last command i.e. UNION
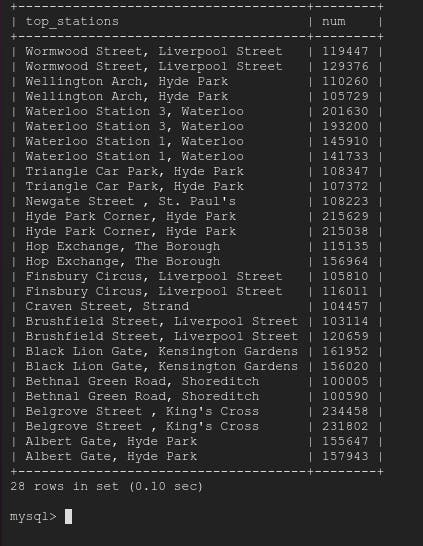
SELECT start_station_name AS top_stations, num FROM london1 WHERE num>100000 UNION SELECT end_station_name, num FROM london2 WHERE num>100000 ORDER BY top_stations DESC;
What this command do is - it will select records from london1 based on condition and from london2 based on condition and combine both.
So let's first check how many records using both condition individually.
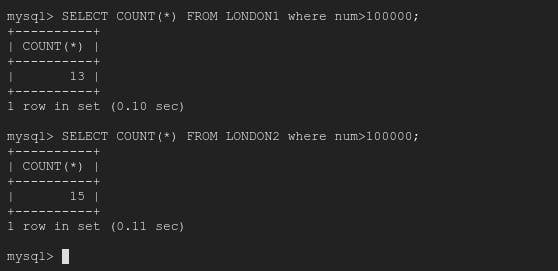
So 13+15 = 28 records
therefore, above UNION command will return 28 records.
Reference
https://googlecourses.qwiklabs.com/ - GSP281
You can try all above in google qwiklabs Or in your own Google Cloud account.