

In our last blog, we see the Kubernetes and it's main components.
https://sumanshunankana.hashnode.dev/kubernetes-and-its-main-components-in-a-layman-term
Now we will see all those components in practical in GKE (Google Kubernetes Engine)
- Logon to https://cloud.google.com/ with your account
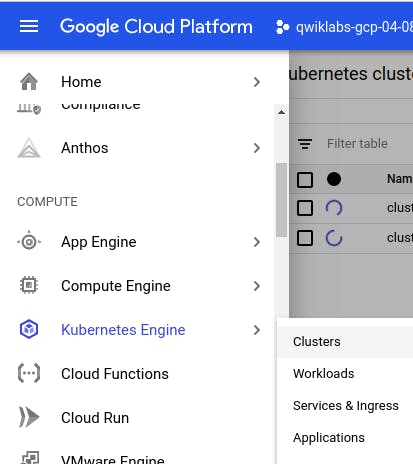
- Navigate to Navigation menu ==> Kubernetes Engine ==> Clusters
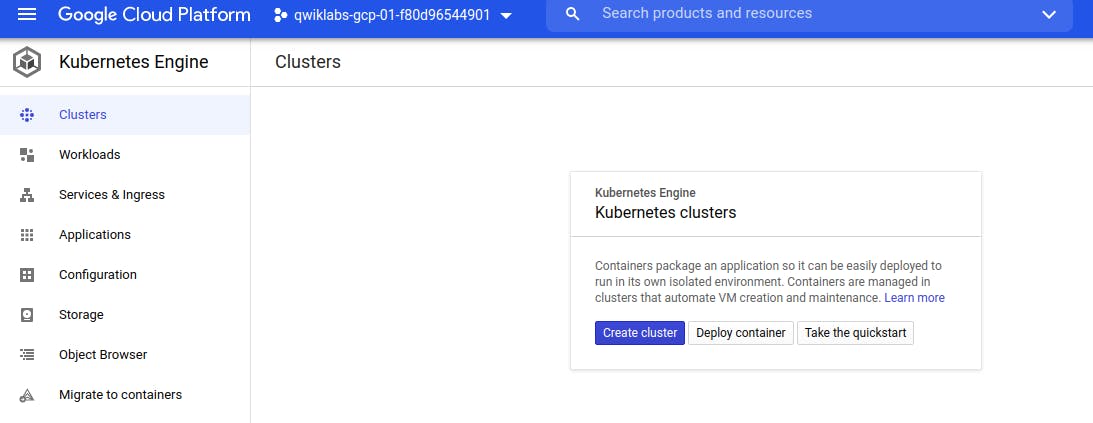
- Click Create cluster
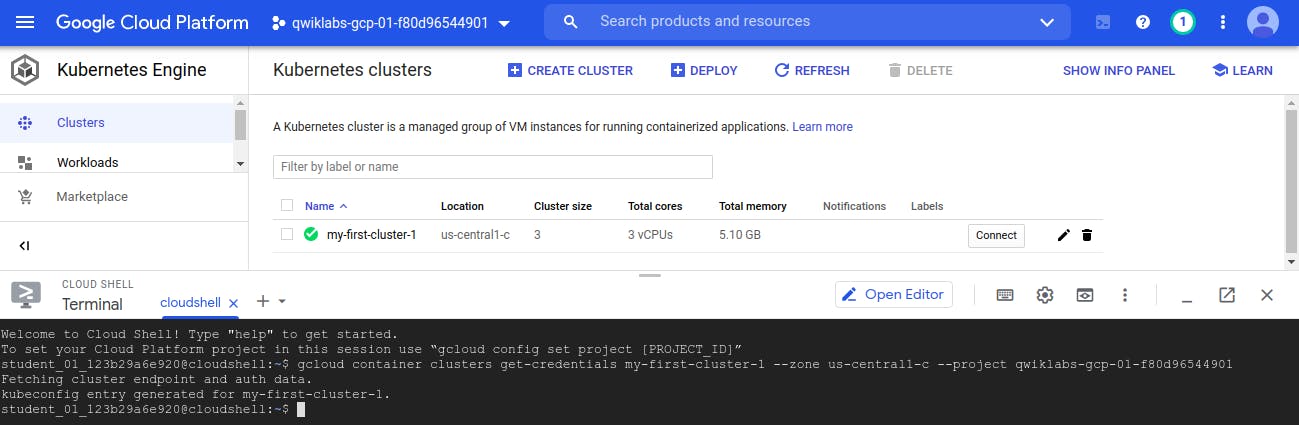
- Leave everything as a default (just for simplicity) and click on create. After 1-2 mins cluster will be created. Here our cluster name is my-firstcluster1

- Click on 'connect' button to connect with the cluster, cloud shell will be open and configure kubectl command line access by running the following command:
gcloud container clusters get-credentials my-first-cluster-1 --zone us-central1-c --project qwiklabs-gcp-01-f80d9
- So we created the cluster with default settings (which has 3 nodes or virtual machine). Let's see if a backend whether 3 nodes or virtual machine gets created or not.
kubectl get nodes
kubectl is the utility to interact with kubernetes cluster.

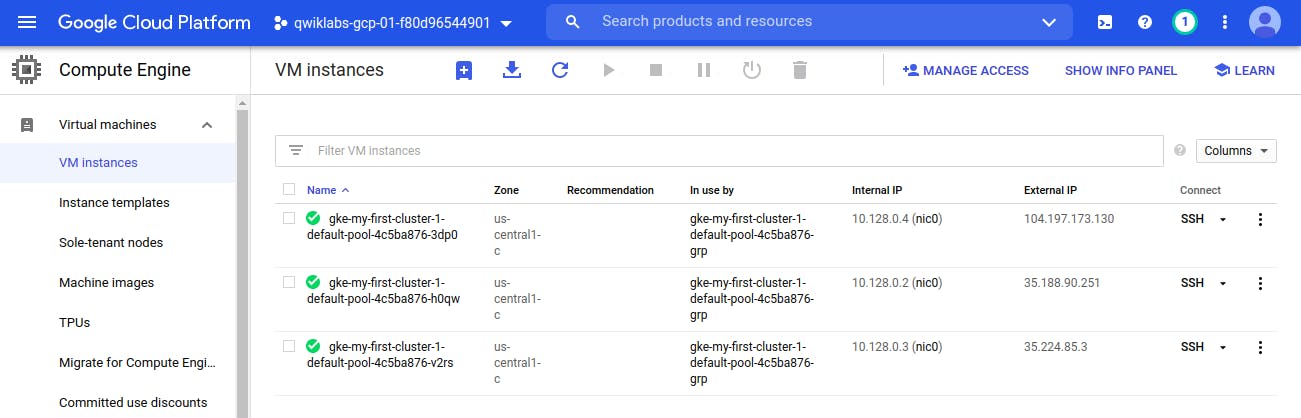
- So we see automatically 3 vm machines created. Now lets check if any POD created. Ideally there should be NO POD, because we did not do any deployment.
kubectl get pods

So as expected, no pods
- Lets check if there is any SERVICE
kubectl get service

we could see default service, but not any other service for our app (because we did not do any deployment yet). So this is as expected.
- Now lets do the deployment of simple hello-app, whose image is available in GCR.
kubectl create deployment hello-world --image=gcr.io/google-samples/hello-app:1.0
- As we deploy our app without .yaml file, So by default it takes 1 POD
kubectl get all

We could see 1 POD.
- Now let's scale our application from 1 to 3
kubectl scale deployment hello-world --replicas 3
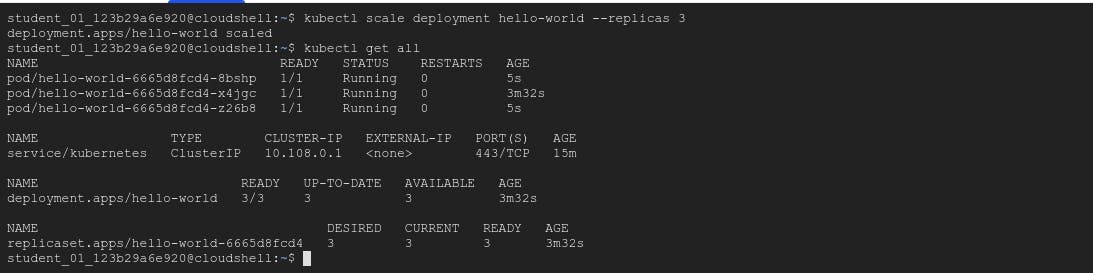
After scaling , we could see 3 PODS.
- Now to use the app, Lets expose the app to the outer world.
kubectl expose deployment hello-world --type LoadBalancer --port 80 --target-port 8080
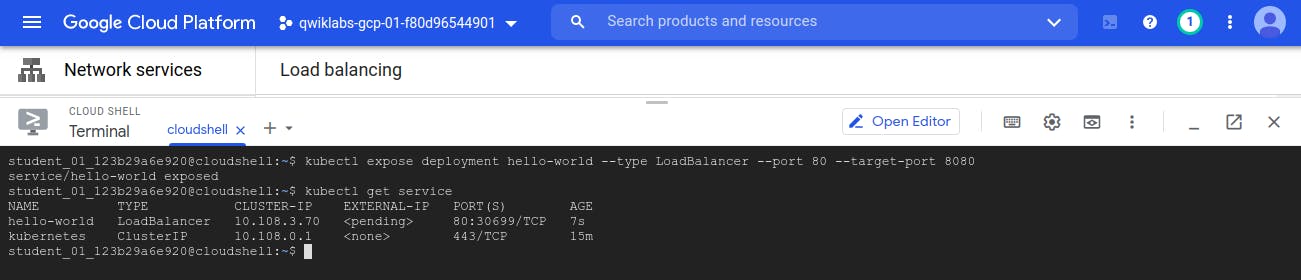
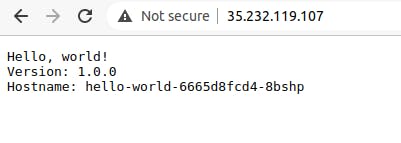
After 1-2 minutes, SERVICE will be created which also act as a LoadBalancer and it gives us External IP to use the application. Let's browse that IP
We can see the same LoadBalancer in Google cloud UI Navigation menu ==> Networking ==> Load Balancer
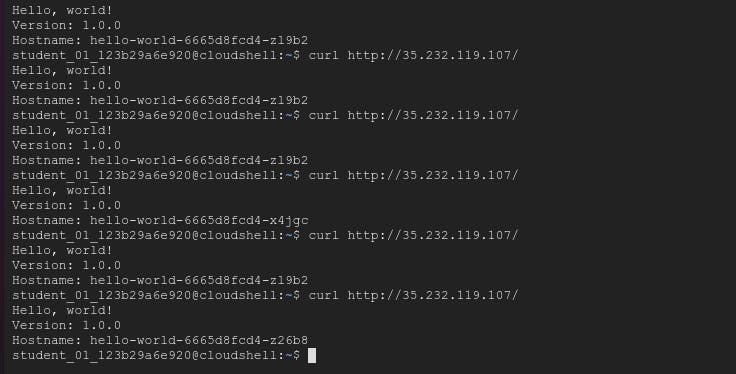
Now, let's try to fetch the same External IP multiple times using curl command. We could see at different request, request reaches to different PODS, as shown in figure.
- Let's delete one POD out of three and then try to browse same external IP
kubectl delete pod pod_name
We will notice, even after deleting one POD, we are able to access our application and after few seconds, new POD created as well (because we deleted 1 POD)
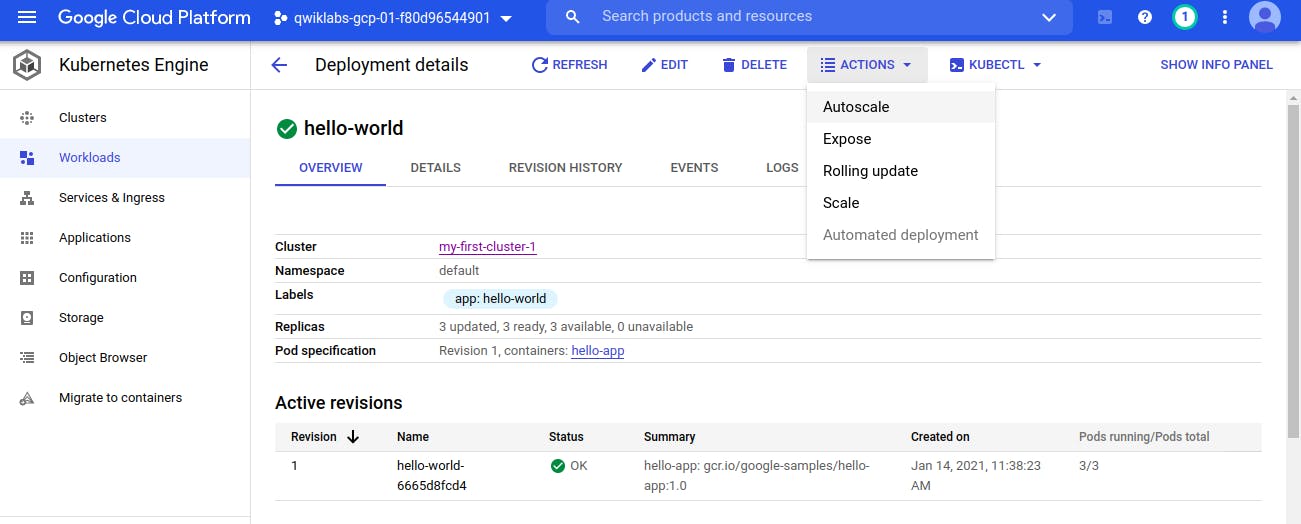
- We can scale the number of PODS from UI interface as well.
Navigation menu ==> Kubernetes Engine ==> Workloads
Click on Actions ==> Scale
Let's scale to 10 POD
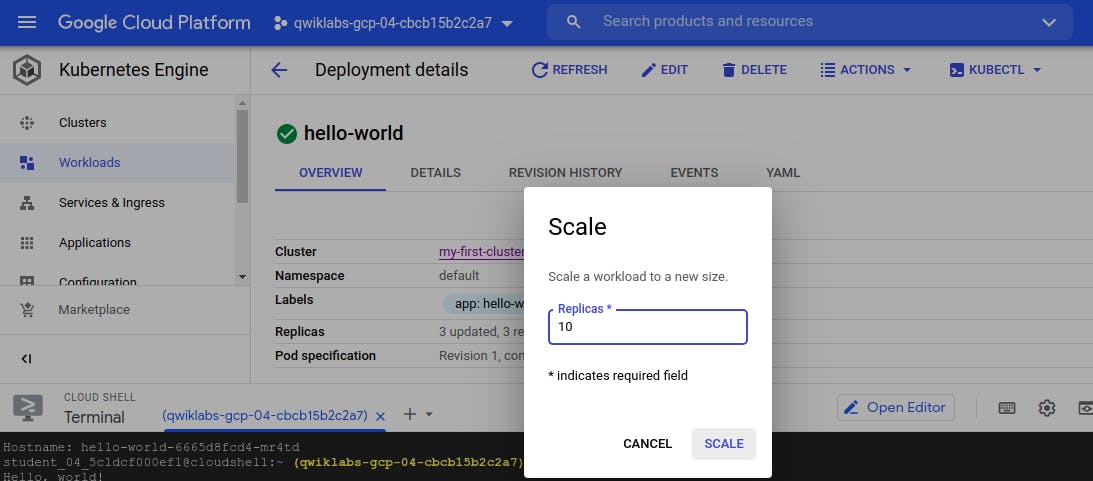
Now, we could see 10 POD i.e. our application replicated to 10 PODS.

So we could see -
- How to create the GKE Cluster
- How to do deloyment
- How POD can be scaled using command or UI
- How Deployment can be exposed (or Service can be created)
- How we can delete the POD